こんにちはフロントエンドエンジニアのまさにょんです!
今回は、React・TypeScriptでImageFile(画像ファイル)をUploadするComponentを作成する方法について解説していきます。
目次
React・TypeScriptでImageFile(画像ファイル)をUploadするComponentを作成する方法
ImageFile(画像ファイル)をUploadするComponentの導入イメージ
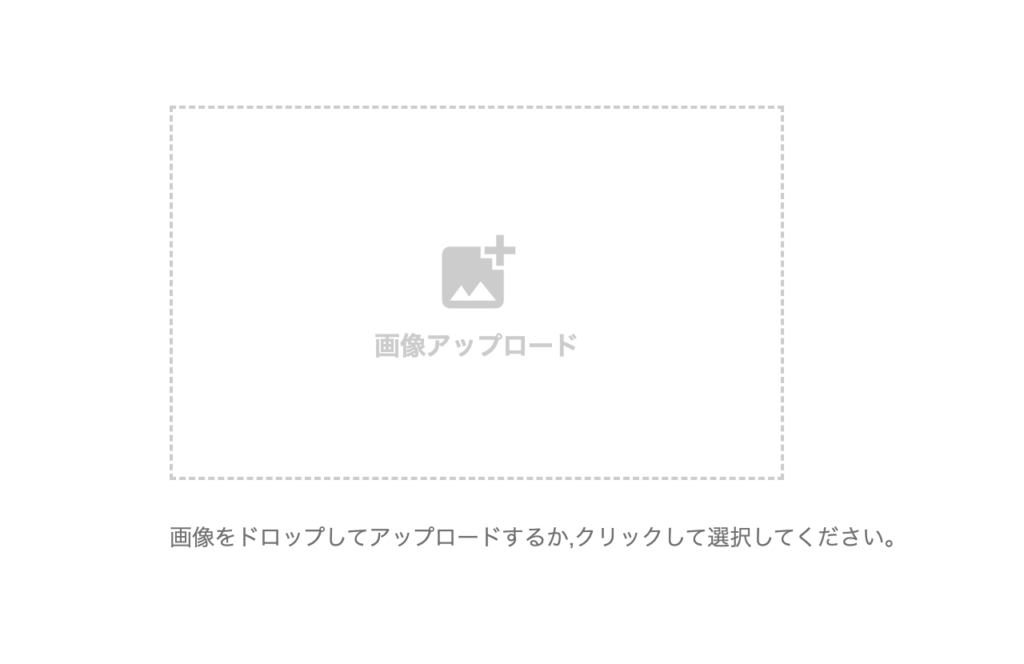
ImageFile(画像ファイル)をUploadする前の状態は、次のような画像アップロードアイコンと枠線が表示されている状態です。

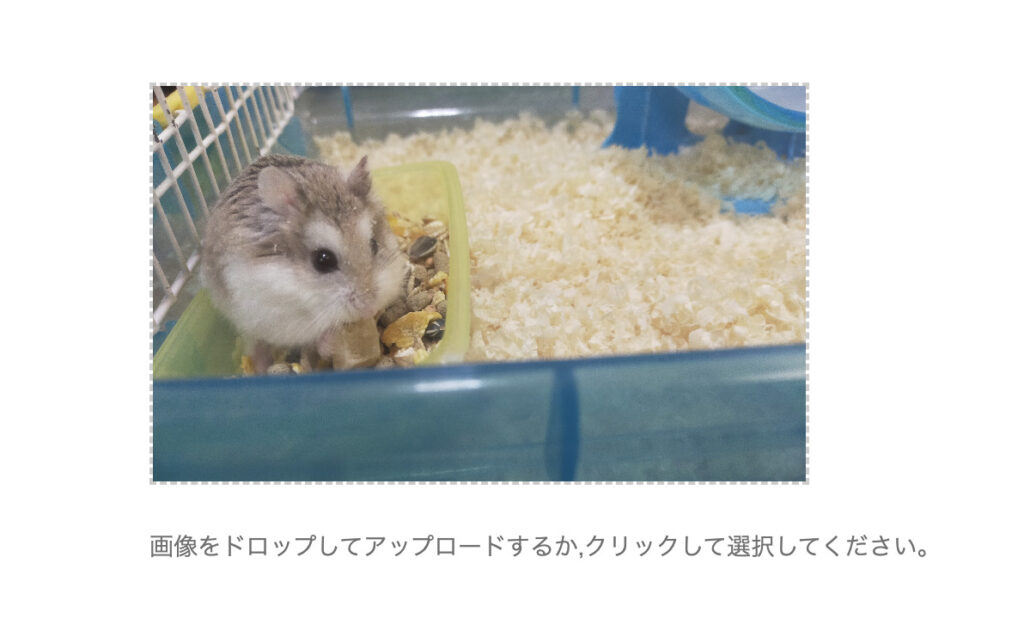
ImageFile(画像ファイル)をUploadすると、次のように枠線の中にUploadしたImageが表示されます。

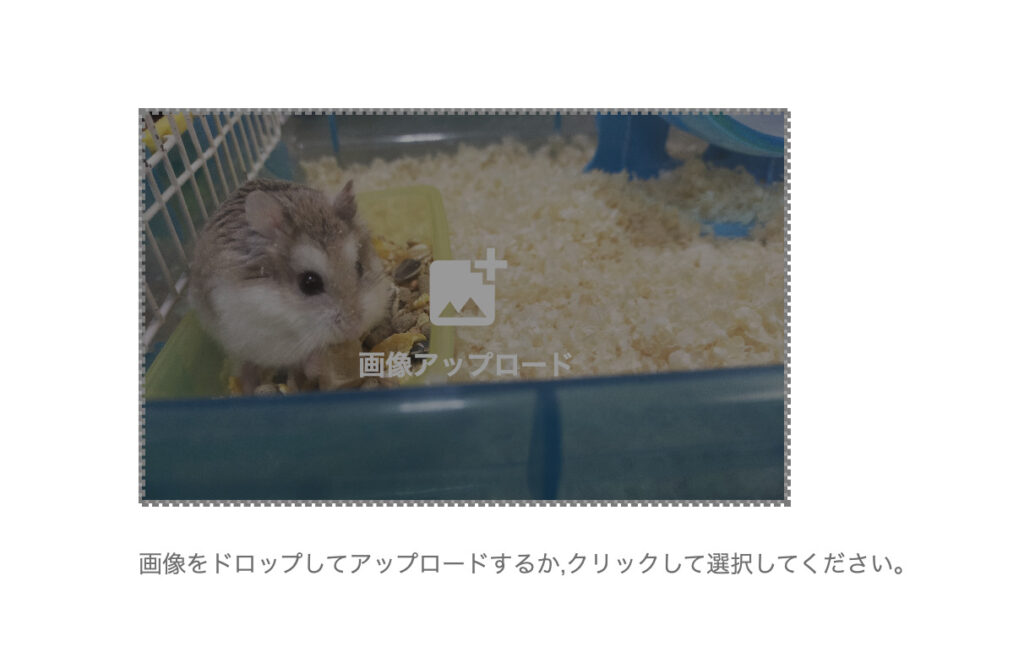
SetされているImageにhoverすると、次のように背景が黒い半透明状態 & 画像Uploadアイコンが表示されます。
ちなみに、Clickすると新しい画像を選択して置き換えることができます。

SampleCode と 実装ポイント
React・TypeScriptでImageFile(画像ファイル)をUploadするComponentを作成する上でのポイントをまとめると次のとおりです。
- Button(IconButton)によるファイル選択には、ReactのDOMを参照できるuseRefを使用する。
- ClickによるImageファイルの選択のEvent型は
React.ChangeEventになる。 - Drag & DropによるImageファイルをSetする際のEvent型は、
React.DragEventになる。 - FileInputの
idは、一意のkeyにしないとhtmlForがinputを特定できないので注意- Componentを再利用して、同じページで複数Componentを使い回す場合
- MUIと、Styled-Componentsを使用しているので、そこは注意が必要です。
SampleCodeは、次のとおりです。
import { useState, useRef, Dispatch, SetStateAction } from "react";
import styled from "styled-components";
// IconButton関係
import IconButton from "@mui/material/IconButton";
import AddPhotoAlternateIcon from "@mui/icons-material/AddPhotoAlternate";
// Propsの型定義
interface PropsType {
  id: number;
}

// ImageFile(画像ファイル)をUploadするComponent
const ImageFileUpload = (props: PropsType) => {
  // 識別のためのID: 複数_ImageFileUpload_Componentを使用するときに識別するため。
  const id = props.id;
  // ImageFile: 画像
  const [imageFile, setImageFile] = useState<Blob | MediaSource | string>();

  // ImageFileのSetter
  const imageUpload = (
    e: React.ChangeEvent<HTMLInputElement>,
    setter: Dispatch<SetStateAction<Blob | MediaSource | string | undefined>>
  ) => {
    if (e.target.files) {
      setter(e.target.files[0]);
    }
  };

  // SetされたFileの参照情報を確認するための ref_Data: Reference_Data
  const fileInputRef = useRef<HTMLInputElement | null>(null);

  // Image_Icon をClick
  const imageIconClick = () => {
    fileInputRef.current?.click();
  };

  // Drag & Dropの処理
  const imageDrop = (
    e: React.DragEvent<HTMLDivElement>,
    setter: Dispatch<SetStateAction<Blob | MediaSource | string | undefined>>
  ) => {
    if (e.dataTransfer.files) {
      e.preventDefault();
      setter(e.dataTransfer.files[0]);
    }
  };
  const imageDragOver = (e: React.DragEvent<HTMLDivElement>) => {
    e.preventDefault();
  };

  return (
    <ImageFileUploadWrapper>
      {/* 画像をUpload-Block */}
      <div className="common_input_block">
        {imageFile ? (
          // ファイルをSetしたら表示する
          <div className="input_wrapper image_upload_wrapper image_set_state">
            {/* eslint-disable-next-line jsx-a11y/img-redundant-alt */}
            <img
              src={
                typeof imageFile === String.name.toLocaleLowerCase()
                  ? (imageFile as string)
                  : URL.createObjectURL(imageFile as Blob)
              }
              alt="Top Image file"
              width="380"
              height="230"
              className="cover_image"
            />

            {/* Setした画像に、hoverしたら表示される */}
            <div
              className="text_overlay"
              onDrop={(e) => imageDrop(e, setImageFile)}
              onDragOver={(e) => imageDragOver(e)}
            >
              <label
                // FileInputのIdは、一意のkeyにしないと、特定ができないので注意 => 複数ある場合
                htmlFor={`image_file_input${id}`}
                className="input_wrapper text_overlay_image_upload_wrapper"
              >
                <div>
                  <IconButton
                    className="image_upload_icon"
                    sx={{
                      padding: 0.5,
                    }}
                    onClick={() => imageIconClick()}
                  >
                    <AddPhotoAlternateIcon
                      sx={{
                        fontSize: "58px",
                        color: "#fff",
                      }}
                    />
                  </IconButton>
                </div>
                <input
                  // FileInputのIdは、一意のkeyにしないと、特定ができないので注意 => 複数ある場合
                  id={`image_file_input${id}`}
                  type="file"
                  accept="image/*"
                  className="custom_file_input"
                  ref={fileInputRef}
                  onChange={(e) => imageUpload(e, setImageFile)}
                />
                <p
                  style={{
                    textAlign: "center",
                    color: "#fff",
                    fontWeight: "bold",
                    fontSize: "1rem",
                  }}
                >
                  画像アップロード
                </p>
              </label>
            </div>
          </div>
        ) : (
          // ファイルを表示するため
          <div
            onDrop={(e) => imageDrop(e, setImageFile)}
            onDragOver={(e) => imageDragOver(e)}
          >
            <label
              htmlFor={`image_file_input${id}`}
              className="input_wrapper image_upload_wrapper"
            >
              <div>
                <IconButton
                  className="image_upload_icon"
                  sx={{
                    padding: 0.5,
                    "&:hover": {
                      backgroundColor: "#fff",
                    },
                  }}
                  onClick={() => imageIconClick()}
                >
                  <AddPhotoAlternateIcon
                    sx={{
                      fontSize: "58px",
                      color: "#ccc",
                      "&:hover": {
                        backgroundColor: "#fff",
                      },
                    }}
                  />
                </IconButton>
              </div>
              <input
                id={`image_file_input${id}`}
                type="file"
                accept="image/*"
                className="custom_file_input"
                ref={fileInputRef}
                onChange={(e) => imageUpload(e, setImageFile)}
              />
              <p
                style={{
                  textAlign: "center",
                  color: "#ccc",
                  fontWeight: "bold",
                  fontSize: "1rem",
                }}
              >
                画像アップロード
              </p>
            </label>
          </div>
        )}
        <div className="image_support_msg">
          画像をドロップしてアップロードするか,クリックして選択してください。
        </div>
      </div>
    </ImageFileUploadWrapper>
  );
};

const ImageFileUploadWrapper = styled.div`
  /* Image画像をUploadする入力フォームの Btnを非表示にする */
  input[type="file"] {
    display: none;
  }

  /* 入力フォーム-Wrapper */
  .input_wrapper {
    margin-bottom: 25px;
  }

  /* Image画像をUploadする入力フォームのWrapper: ここで、画像サイズを設定 */
  .image_upload_wrapper {
    display: flex;
    flex-direction: column;
    justify-content: center;
    align-items: center;
    border: 2px dashed #ccc;
    width: 380px;
    height: 230px;
    background-color: #fff;
  }

  /* Image画像が、Setされている時の追加-Wrapper  */
  .image_set_state {
    position: relative;
  }

  /* Image画像が、Setされている状態で、hover: 黒い半透明 */
  .image_set_state:hover {
    filter: brightness(60%);
  }

  /* hover時に、画像の上に要素を追加して、表示させる */
  .text_overlay {
    position: absolute;
    top: 0;
    left: 0;
    width: 100%;
    height: 100%;
    opacity: 0;
    transition: opacity 0.5s;
  }

  /* Image画像が、Setされている状態で、hover: 画像-Upload-Iconを表示する */
  .image_set_state:hover .text_overlay {
    opacity: 1;
  }

  .text_overlay_image_upload_wrapper {
    display: flex;
    flex-direction: column;
    justify-content: center;
    align-items: center;
    border: 2px dashed #ccc;
    width: 380px;
    height: 230px;
  }

  /* Uploadする画像の表示 */
  .cover_image {
    object-fit: cover;
  }

  /* 画像をドロップしてアップロードするか,クリックして選択してください。MSG-Style */
  .image_support_msg {
    margin-top: 7px;
    font-size: 14px;
    color: #707070;
  }

  /* Icon_BtnのBaseStyle */
  .icon_btn {
    border-radius: 25px;
  }
`;

export default ImageFileUpload;
Twitterやってます!Follow Me!
神聖グンマー帝国の逆襲🔥
神聖グンマー帝国の科学は、世界一ぃぃぃぃぃぃ!!!!!


